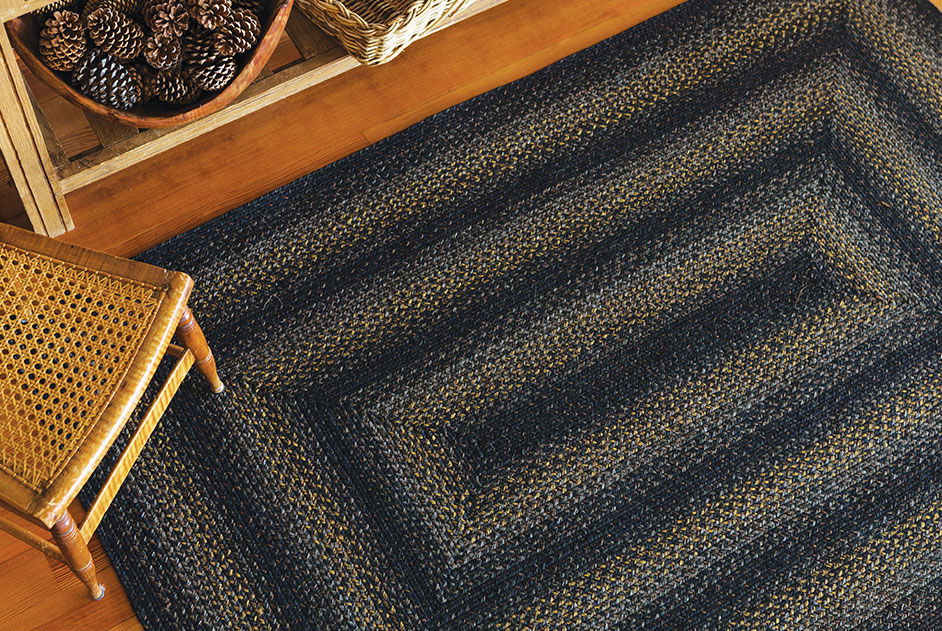
Make a gorgeous and sturdy braided rug from bits and pieces and worn-out fabrics. You can also use old curtains, sheets, and clothes to design a beautiful braided rug. Here’s how to put together a braided rag rug from fabric scraps.
Difficulty Level – Average
Time Required – If you have basic sewing and braiding skills, you could create a normal-sized rug within a single weekend!
What You Will Need:
- Long strips of fabric
- Scissors
- Measuring tape
- Ruler
- Sewing needles
- Thread
- Safety pins
Instructions:
- Cut the scrap fabric into long pieces with the help of sharp scissors. These strips should be about 2 inches wide. You can use a ruler and cut little notches at a gap of 2 inches along the edge of your fabric.
- Cut away the frayed strands along the edges of each strip. Stitch the ends of the strips with needle and thread to make continuous strands.
- Once you get a big pile of strips, roll them up into three equal-sized balls without joining the ends.
- Pull out the end from all three of the strip balls, stack them, and sew them together. Pin down this edge with the help of a safety pin to somewhere you feel comfortable to work at; like a couch, a curtain, or an ironing board.
- Start braiding and move backward as you work. When the braid gets long enough, re-pin the end to the base again and again. Braid the strips until you reach the length of the rug you want to make.
-
Square or rectangle shaped rug – Make a bunch of braids which are similar in length. Lay down the same length braids side-by-side, pin them together and finally sew them to keep them in place.
Oval or round shaped rug – You need very long, continuous braids to create these shapes because you have to coil them to get an oval or circle. Coil the braid into a spiral shape, pin it together then sew to keep it all in place. Keep coiling and pinning, and sew all the coils together.
- When you are pinning the last braid, tuck it under the rug and stitch it into place; and you’re done!

-7-Easy-Steps-to-Make-a-Braided-Rug.jpg)


